Wednesday 4 December 2013

Know when to stop.

I'm putting this post up in the spirit of honesty, it's about when quilting or my attitude to quilting, goes horribly wrong.
I was tired and hand't slept well the night before, this should've been a warning that measuring wasn't going to go my way. Being me I thought "bugger it" and did anyway. I'm on a bit of a kick to get ALL of my wip's all done before January and frankly this just added to the "I can do it!" attitude.

I measured the quilt top.
I missed 10" 
And I don't know how.


Needless to say the twin wadding I bought based on the measurement didn't fit. I had to zig-zag wadding bits together. I should've stopped here and bought a bigger sized wadding the next day in hindsight. 


The loft floor, while I hadn't measured it, was also too small to baste a quilt this large on.
I rolled it and basted it - that was a first & possibly a last on the floor. 
I couldn't find pins so I spray basted it, a whole can of 505. We'll see how well that holds! 

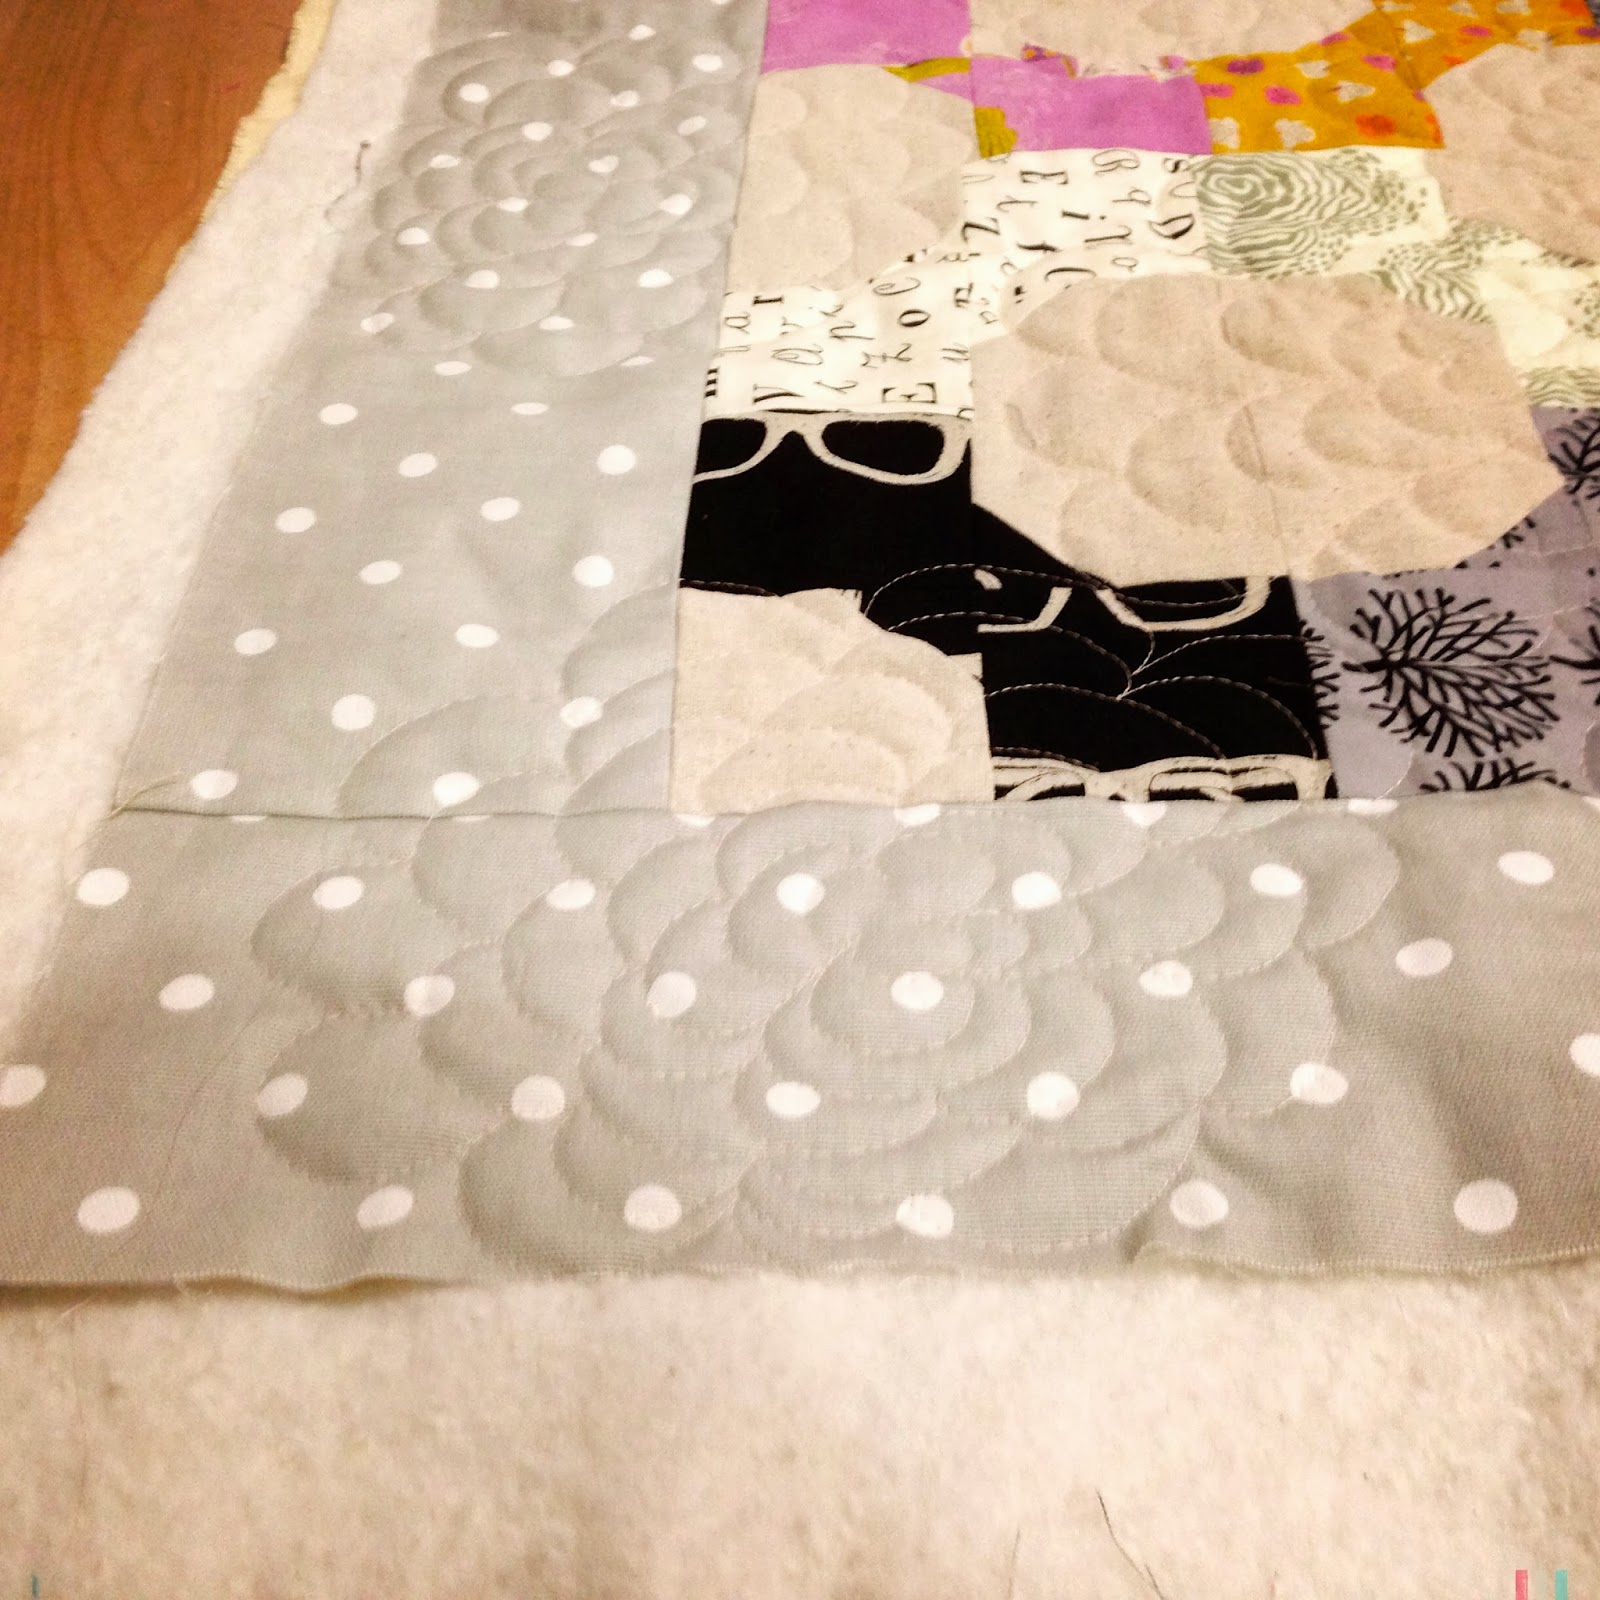
Finally onto the quilting :D 
I thought about FMQ Chrysanthemums, I even tried two of them and promptly decided they involved way too much starting and stopping for something this big. Meandering quilting it was then, I know most people don't love this type of quilting but I really like the texture it creates and on Tana Lawn I think it will be amazing! 
So half an hour into meandering around the quilt top I hear a noise coming from the needle plate, something didn't sound quite right. 
My tension had gone on holiday and left this mess behind.


The words I said at this point weren't "Oh Darn it" 
This is the point I knew it was time to stop. 
It's still sitting up there in the loft waiting to be unpicked.

Any thoughts about FMQ on the Horizon 7700? It's been fine then all of a sudden this happens, for no reason that I can see.

I'm waiting until I've had a good nights sleep before I head up to the loft to unpick this mess! 

I hope your sewing is more productive and a lot less stressful than mine has been :D 

Monday 2 December 2013

Bow ties for Christmas!

A while back over on Instagram (IG) I came across a quilt top sale held by the lovely Jess of Milkyrobot. Now knowing my Little Madam loves all things black, purple and pink how could I leave this one sitting there? Well I couldn't, so it came to live with me ready to be turned into a Christmas gift :)

Yes that is my camera bag in the backgound of these photos and yes I STILL used my iPhone! I am one heck of a lazy lady! 
I figured if I added a border it would be the perfect size for her to snuggle up with while watching dvd's at Christmas time, so the grey dot fabric came out again and I added a 5" border.


Spray basting is the way forward, I had this basted flat as a pancake in 15 mins! Backed in another eye watering linen check print. 
 The checks aren't as hard on the eye in real life (I am so pleased about that!) and it's only writing this blog post I've realised I do rather like these checked prints for backing quilts.


Thats when things started to go a bit wrong.
Can someone tell my machine I don't like small fragments of metal pinging off my glasses frames at high speed. 2 universals down I decided to pull out the big guns and used a jeans needle! 


Then thought bugger it and had a break.


While I didn't eat all of the chocolate I did drink all of the Bulmers and it was Lovely! 
Thank you to him in doors for seeing I needed chocolate at 9pm and going to the shop without me asking :) 

Post chocolate I headed back to get the quilting finished.
I used to really enjoy FMQ but my stitch length has been known to be a bit iffy so when I'm making quilts for the shop I either straight line quilt them or stipple/meander as I know I wont mess them up...but I really wanted to try something different with this one. 
I've had Rachel at Stitched in Color Chrysanthemum quilting tutorial earmarked for ages and thought why not! 


As with all FMQ that I do it started off shaky and I thought I'd made a huge mistake, then I got a little better and by the last one I was almost happy with how the chrysanthemums were turning out. 
I did have a little rippling around the edges of the quilt but I can live with it.


The last thing I did was to audition binding fabrics, it has been narrowed down to these two and I think looking at them today I'll end up going with the black dots to tie in with the Echino glasses. 
I'll let you know how it turns out! 


As a parting question does anyone have any thoughts on how to quilt The Great Wave off Kanagawa? What a random question that is!
 You can just see it hanging in the background of the first two photos. I have plans to turn it into a wall hanging but I'm not sure how...yet.


Sunday 1 December 2013

Fowl Issues!

I am no goose farmer! 
As of the beginning of the week this was my paltry flock
Aaaand I've been working on these since August.

So yesterday afternoon, instead of Christmas shopping, I had a sneaky sewing day!


I got myself all prepped with a load of pattern pieces blind sewn and ready to go and a stack of pre cut fabric geese. A few hours, and more cups of tea, later this blindingly bright bunch were ready to rock n' roll their way into my Geese in the Forest quilt :)


I think I might leave all of the papers in until I've sewn all the units and I'm ready to sew them together at some point next Spring. If anyone out there has an opinion on this I'd welcome it as to be honest I'm not too sure about the mammoth paper ripping session once they are all made or the possible fraying and needing to iron them all again if I take the papers out. 

If anyone reading fancies having a go at making this quilt (and demolishing their scrap pile in the process!) The Flickr group is Here I do think I'm rattling around there on my own at the moment so I know I'd welcome the company! 


P.S.       Please be aware there will be many many (bad) geese puns during the making and blogging of this quilt  Sorry! :D 

Monday 11 November 2013

Sharing some Liberty love

'Bella felt that the blog was lacking her presence lately and demanded I show you all how to keep snug and warm this November :D
I thought It would be fun to share what happened to the fabrics in this post 


I ran off and made a stitch and flip cot quilt with them 


The binding was a lucky find at John Lewis and I think it goes really well with the soft ditzy liberty prints.


Of course the obligatory "quilt over plastic rock" photograph!

It is buttery soft with the Tana Lawn and soft cotton backing, I quilted it in straight horizontal lines randomly spaced out over the quilt to keep the drape and softness. It measures 44" x 57" so has been added to the shop as a cot quilt or large lap quilt. 

In other sewing news I've started my pillow top for the The Pillow Talk { Swap } The HOLIDAY Edition and have fallen back in love with this little Christmas deer print!


I just need to work out the next round of HST then get it put together this week :) 


Thursday 31 October 2013

Carrot and stick mentality!

These are the pretties I get to play with this evening


Once I get back from the gym :(

Pixelated heart quilt Finish!

And no colour bleeds! 


Super soft voiles, tana lawn and cottons! 


Pretty clotted cream colours when the light plays nice! 


Straight line quilting on the diagonal makes for diamonds on the back through those giant poppies.


I'll shut up now and let you have a look at the whole thing :) 


It has now been listed in my Etsy shop ready for the holidays! 


Monday 28 October 2013

Patchwork Cushions with Hand Quilting

Some of you that follow me on Flickr may have seen this image around the beginning of October and then nothing more of it, worry not my exploits into hand quilting cushions went well! I just didn't have the chance to get any more photos taken until this week :)


That super bright perle cotton toned in really well with the bright florals but just to make sure it wasn't too bold I went with a cream to stitch the horizontal lines.


The binding is my new favourite grey with white spots.
I didn't know I had this many floral or ditzy prints in my stash truth be told but I had fun throwing them all together!

And I had to go with another floral fabric for the backing because it was sitting there just looking so right for it! 


It ended up sized for a  22"x22" cushion pad.

Once that one was done I was itching to do another (I did mention in an older post these things are addictive to make!) 
 So this was whipped together 


I pulled a load of animal theme fabrics and two types of quilters linen, sorry I can't remember the shade names right now but I'll go hunt them out if anyone is desperate to know, and set to marking out a quilting grid.


I've quilted each linen square with a different colour thread to try and pick out some of the colours in the animal fabrics.


Yup again with that grey with white dots! I really do love it as a binding :)
The back is a really bright fox fabric from Ikea that I had a small amount of, it only seemed right after hearing Madam play "That fox song" over and over again for the last few days! 


I'm coming to realise I do get a kick out of patchworking with squares. 
One of my 1st quilt books- a birthday gift from Him in door's mum The gentle art of quilt making by Jane Brocket keeps re-inspiring me to work with the colours of the fabric and the simple shapes I can create to make items that will stand the test of time and my ever changing tastes. I have to say it's been a bit of a shock and revelation as one glance through my Flickr faves will leave you thinking EPP is the way I roll lol I highly recommend the book or having a good browse with the "Look inside" feature of Amazon to get a feel for taking quilts back to simple shapes and colour palettes. Anyway enough waffling on here is the last cushion cover I put together for the heck of it :D


I had a load of Liberty scraps left after making our giant log cabin quilt top and figured it would be rude to let them go to waste!


 I machine quilted on the diagonal through the prints and hand stitched through the linen, again with perle 8 (I like the chunky look it gives) 


I went with a floral binding for this one!


Really simple linen envelope backing to finish, I thought I'd better calm it down after the fox fabric! 

All three of these will be making their way into the shop today...possibly tomorrow after seeing the time!


Pixelated heart Quilt

I came across this post a while back on Blue Elephant stitches and the question of a 5" version has sort of tickled my brain ever since. Half term and a week off work were heading up on me and I thought why not? So here is the photo diary of my Pixelated Heart quilt.


I hadn't realised just how many pinks reds and plums I have in my stash!


Chopped into 5" squares (Ignore the fact they need pressed please!) 


I quickly realised I needed a design wall for this one, Him in doors was very sweet and helped me with the high areas! I am height challenged at 5' 2"and this was hitting the very top of the ceiling in our loft.


I will admit to now wanting a "real" design wall as seriously how much easier did it make my life!?! I am impressed :)
Once I'd figured out my layout came the fun part of transferring it to the sewing machine, keeping my fingers crossed the whole time that I didn't muddle the squares up.


I had a look around the internet to see if anyone other than Blue elephant stitches had stated a preference for line by line or making blocks then sewing them together but no one had so I went with my "need to see results quickly" mentality and made blocks.

Again please ignore the ironing board and iron flex :) 

And they came together faster than I thought.
It took most of my day off last week to get the top done (New job, that I'm loving, with more hours = less sewing time-karma pay off perhaps?) 

 Then today, first day of half term I got this bad girl quilted! Plain and practical straight line quilting through each square, keeping with the clean lines look.


Next on the to do list is binding then a trip around the washing machine with a million colour catcher sheets! I'll let you know how that goes :D 

Friday 11 October 2013

Patchwork cushions


This blog post was scheduled to go live a good few days ago and didn't, I don't know why it didn't as it is pretty straightforward to schedule posts on blogger but I suspect it was something I did and that ladies and gentlemen is why I fear one day I'll break the internet.

I wanted to make some cushion covers in extra large to accommodate the cushions that I salvaged from my old sofa before it bit the dust earlier in the year. It was furnished with four 24" feather monsters along the backrest and they were just too comfy to throw out!


I had a rummage in my "low volume but not too low volume" scrap pile (Does anyone else organise like that?) and came up with these bad gals. 
5x5 5" squares later this is what I had made


I quilted 1/4" from the seam lines and called it done.
Yeah I'm not one for over complicating things when a quick finish is on the cards! 

Sorry about the crappy iphone photos no excuses other than laziness.
I made it into an envelope back due to my fear of zippers as its nice and fast then threw on a grey spotty binding. 
Done and loving it. 
Loved it that much I made a brighter version to join it! 


I can see some of these being made and added to the shop in the next few weeks as I really had fun making them and how much more instant gratification can a girl want than sewing up a cushion in half an hour (Yes I know I live a rock n roll life) 


So this is how the sofa looks now that it has been decorated with handmade cushions...Yup still room for me, 'Bella and a few more cushions!